

After learning how to complete a simple resize in Step 3, you can now apply those skills to resize the remaining six ad sizes and finish your ad set.
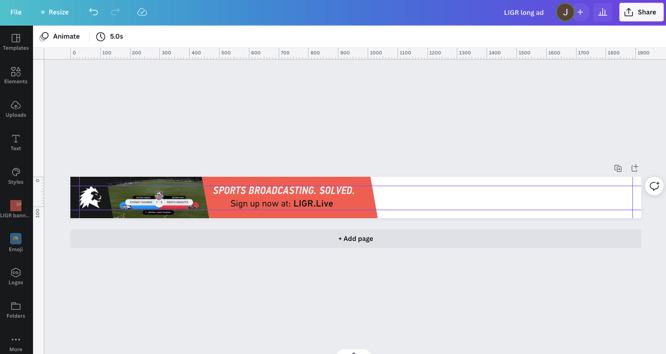
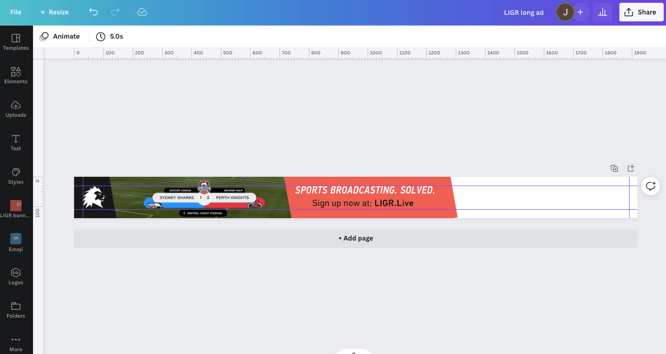
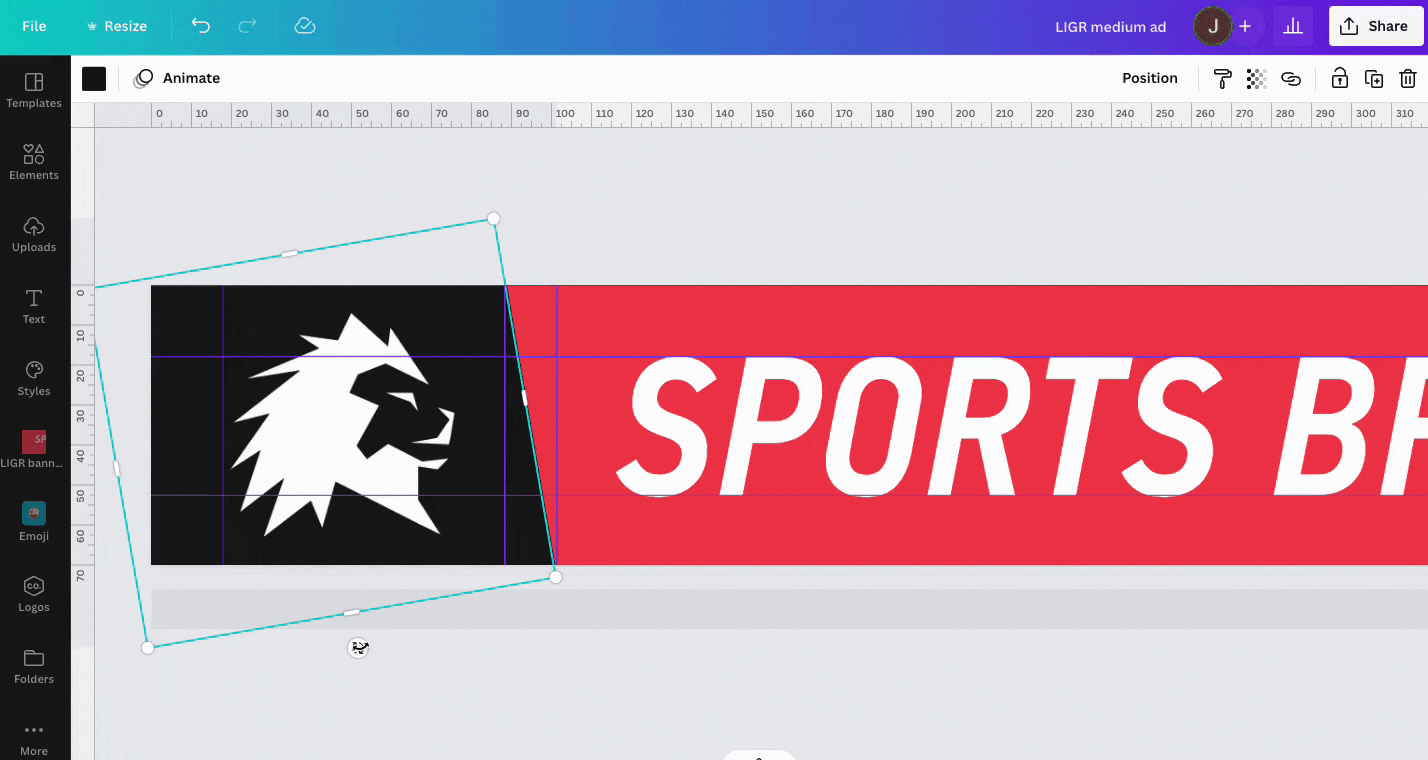
After finishing Step 3, you now have two ad sizes to choose from to create your long ad: the leaderboard and the large ad. The long ad is the same width as the large ad, so it’s the easier of the two options.
If you’re a Canva Pro user, make a copy of your large ad, rename the file “long” and use the resize tool to change the height to 140. Otherwise, just repeat the manual resize process you used in Step 3 – create a new file with the correct dimensions and use a gray box to scale the elements. This time when you scale the items, match up the grey box with the height of the new file.

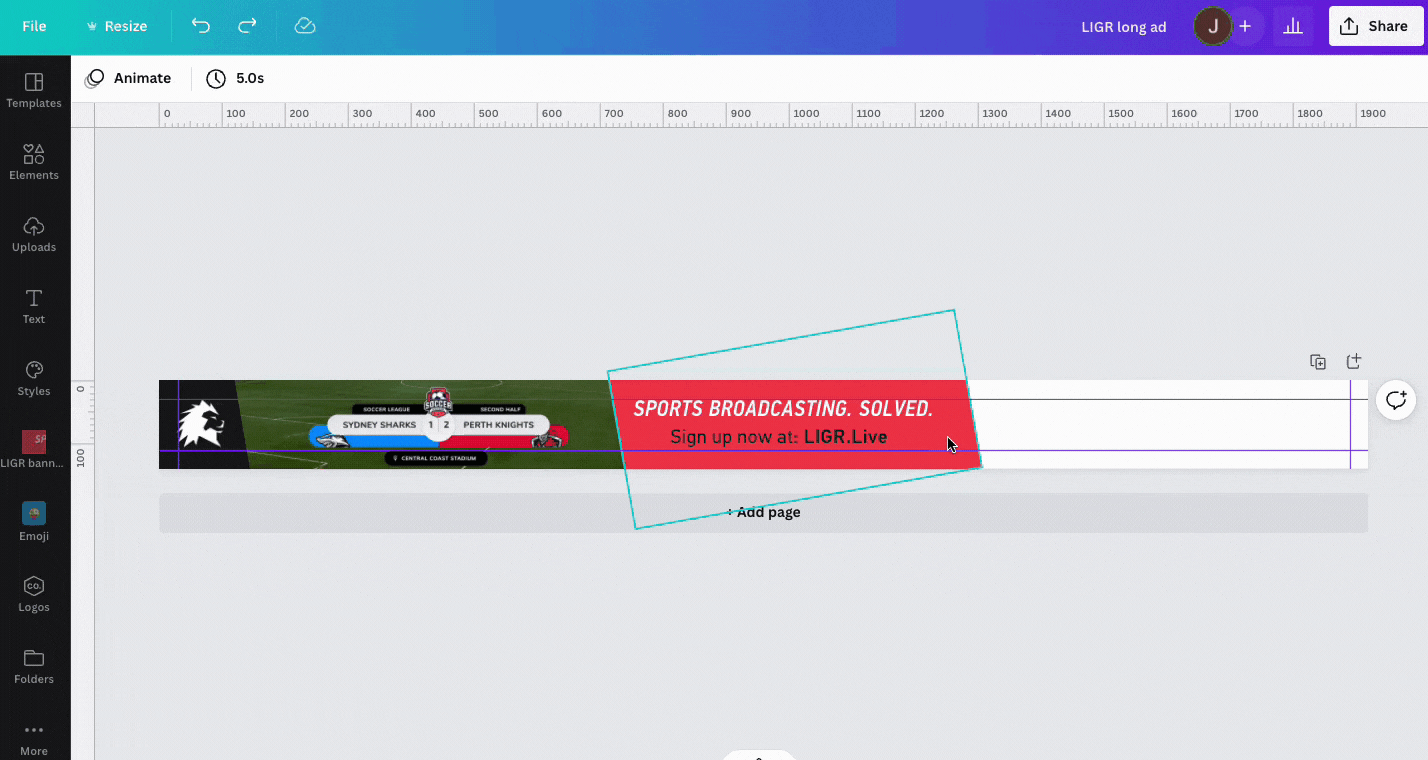
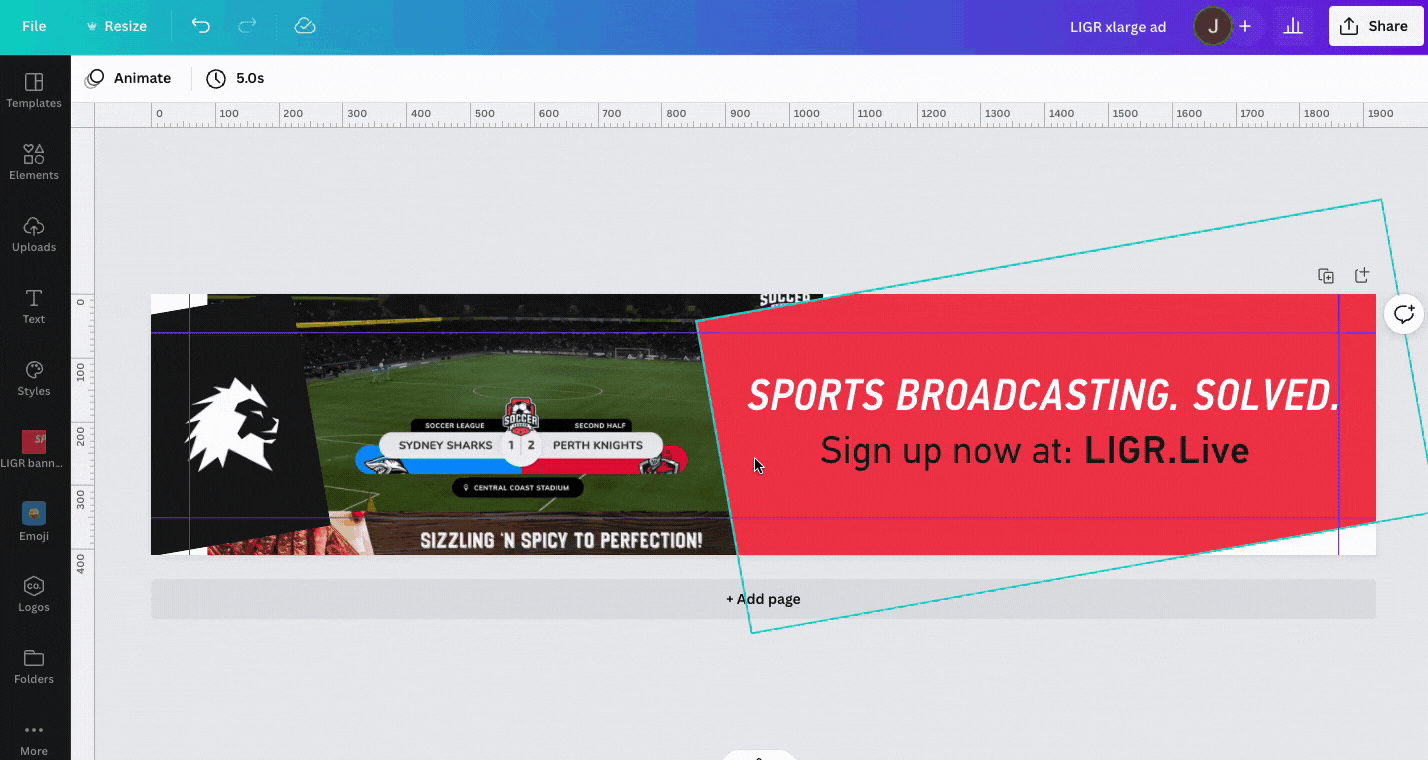
Resizing in Canva using a transparent gray box as a guide
Then delete the gray box and set up a 30-pixel margin (a long ad is 140 pixels high, around 1.5 times the height of a 728x90 leaderboard).
Using guidelines to set up a margin in Canva
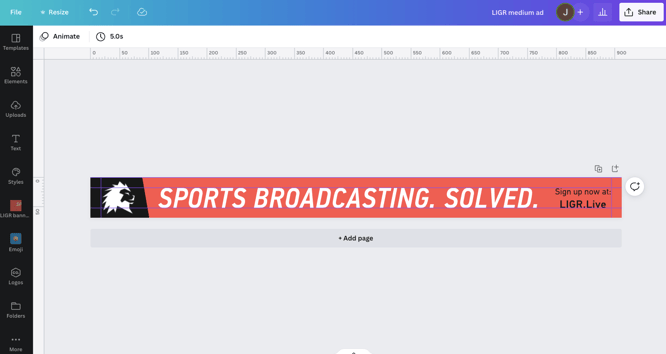
We then need to fill the white space. The simple thing to do is just expand the red shape to the right and reposition the text to fill the space.
First, move the red shape to the right to fill some of the horizontal space, then make the image a bit larger (select and drag the corner) to make the graphic in the image more readable.
Making the image bigger to fill horizontal space in a long ad
To make a shape bigger, select it, then grab the white tab and drag it.
Enlarging a shape in Canva
Enlarge the text and reposition it within the guidelines. Then, you can make final adjustments to the positioning of the image and the black and red shapes. Try to balance out the horizontal space so that the green areas on either side of the image are roughly even to the red space either side of the message. You can also move the black shape to the right a little and center the logo within the black shape.
Resizes completed:
• Long ✅

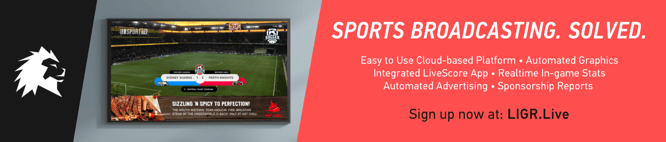
A resized long ad for LIGR Live
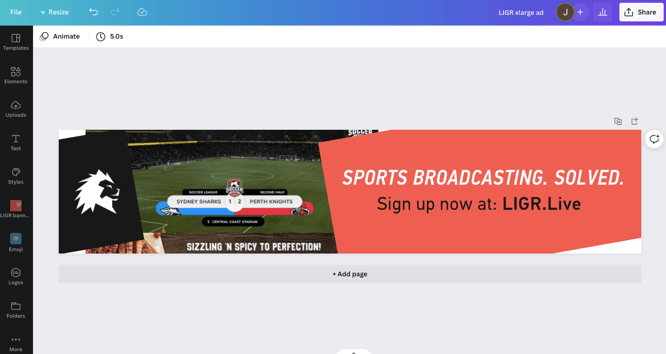
It should look balanced and match the proportions and spacing in our previous resize, the large ad:

The large ad, our previous resize completed in Step 3
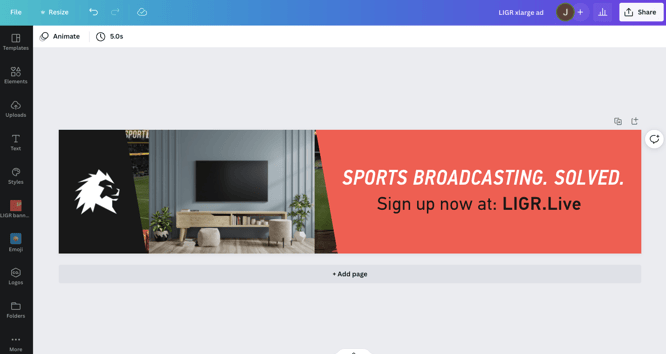
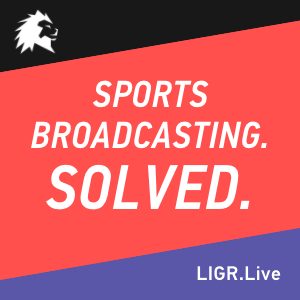
Here we have a bit more space. It’s also worth keeping in mind that the xlarge ad isn’t shown during gameplay, so we can include more text to explain what LIGR is.
If you’re a Canva Pro user, use the resize tool to create the xlarge ad (change the height to 410 pixels). Otherwise, as before, create a new custom document at 1920 x 410 pixels and cut and paste the items from the large ad (no need for a gray box this time as the xlarge ad is the same width as the large ad).
Your xlarge ad should now look like this:
Resizing the xlarge ad
Set up a 60-pixel margin and enlarge the black and red shapes to cover the gaps.
Enlarging shapes in Canva
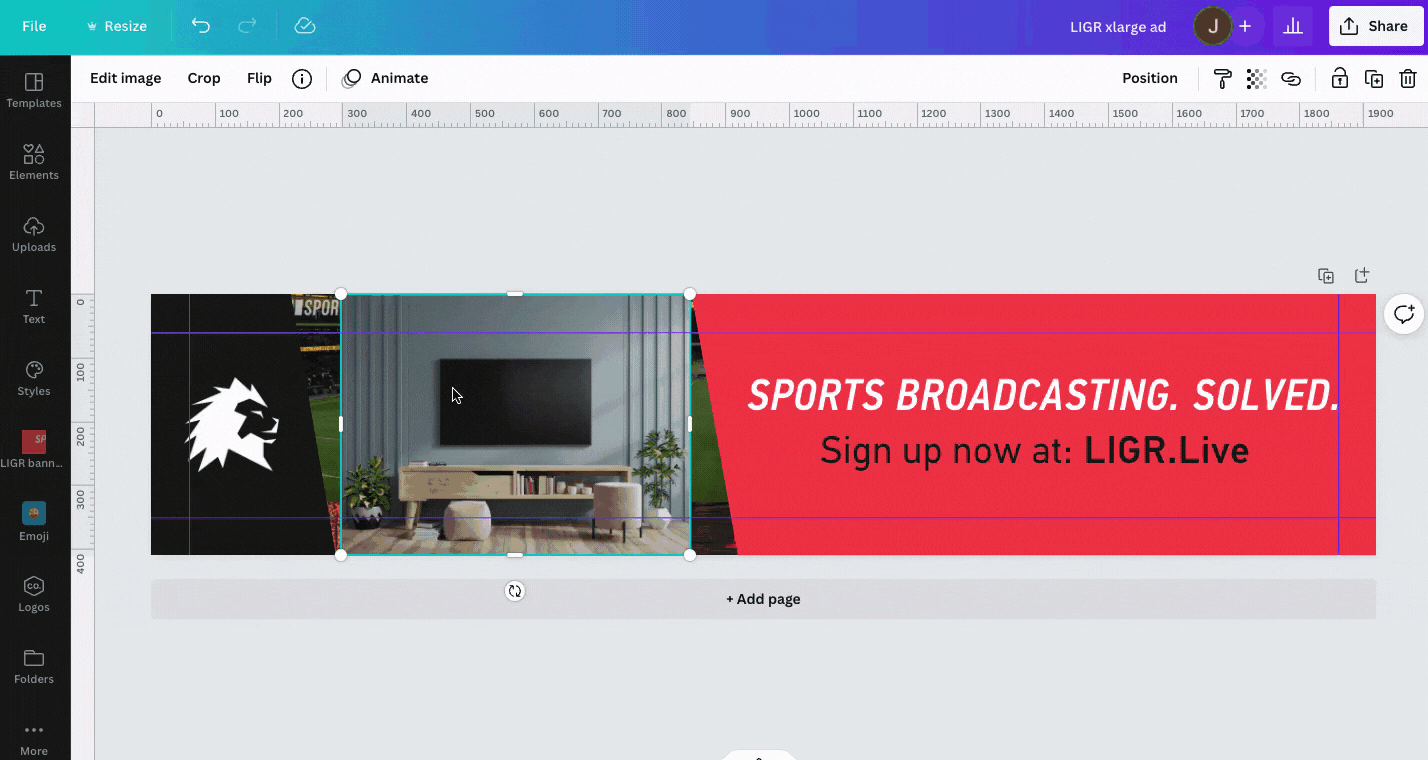
Then we need to fix the image. If we scale it up, it will take up too much horizontal space. Instead, we can use the extra vertical space to put the image on a TV screen.
I found this image of a TV on a plain background in Canva’s image library (Elements > Photos, search for “TV”).
Adding an image from Canva’s image library
Enlarge the tv so it fits within the 60-pixel guidelines, send the TV image to back, then position the LIGR screenshot on top of the TV.
Positioning a screenshot on an image of a TV
To finish, I repositioned the text and added six short phrases describing LIGR’s main features. Now, anyone who doesn’t know what LIGR is and has seen the smaller ads during a live game can get more information when they see this ad.
The resized xlarge ad with a LIGR powered broadcast on a TV image
Resizes completed:
• Xlarge ✅
• Long ✅
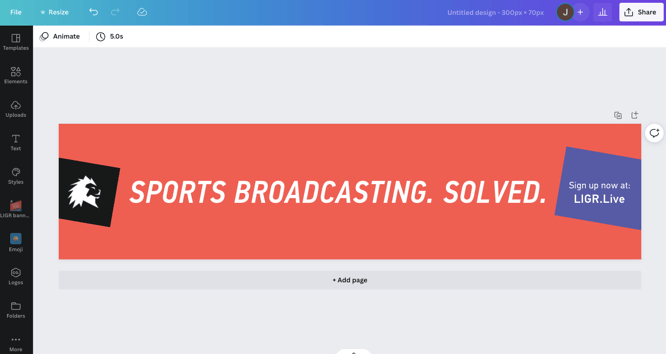
The medium ad (912x70 pixels) is approximately half the size of the long ad (1920x140 pixels), so you can follow the steps you’ve learned to resize your long ad to a medium ad.
On first look, not much needs to be done, but as this ad is only 70 pixels high, I want to remove the image from this ad because the image is now unreadable.
As the medium ad is only 70 pixels in height, we should remove the image
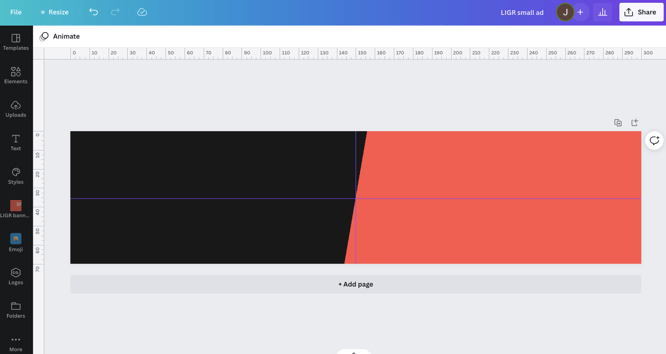
Delete the image, select the white background, then hit the background color button along the top of the Canva window below the blue bar:
Changing the background color in Canva
Choose from the colors already used in the document under “Document Colors” and change the background color to match the red shape, then delete the red shape.
Use an 18-pixel margin for this ad. It’s small, so it’s best not to take up too much space with the margin. Then reposition the text within the guides.
Using guidelines to align text in Canva
When positioning the text, I noticed that it would be better to angle the black shape in the opposite direction to align with the slope of the italic text, so I rotated the box from -10 degrees to +10 degrees.
Mark the position of the diagonal lines with guides so that you can rotate the shape into the correct position.
As this ad doesn’t include an image, I want to finish it off by adding a purple box on the right highlighting the URL.

Resizes completed:
• Medium ✅
• Xlarge ✅
• Long ✅
After rotating the black shape in the medium ad, do the same for the red and black shapes in the xlarge, large and long ads.
Here are the four ads we’ve completed so far with the shapes rotated:


Note that these ads aren’t shown at full size in this blog post because the largest ads are wider than the page. When shown during a broadcast the ads will be fully readable.
Next is the small ad (300x70 pixels). It’s the same height as the medium, so we’ll use that as a basis. Although, I don’t recommend using the resize tool as this is the result:
Sometimes, the Canva Pro resize tool isn't useful when resizing smaller ads
In any case, it’s best to only include the logo and the action in a small banner, or even just the logo.
Start with a new 300x70 pixel document, set the background color, then add a vertical and horizontal guide in the center.

Start with a new blank document to create your small ad
Copy and paste the black shape from any of your other ads, line it up so the diagonal is in the center, and expand the shape to cover the left half of the ad.
Copy and paste the elements you need into the small ad
Then, copy and paste the logo and the URL from your medium ad one by one and position them in each half.

The small-size ad is better without messaging or an image
Resizes completed:
• Small ✅
• Medium ✅
• Xlarge ✅
• Long ✅
When you copy and paste multiple elements, sometimes Canva will try to help you out and change the size of these items to fit the new document. If you copy them one by one, they maintain their original size.
We can then do a quick resize using the small ad to create the 510x150 pixels banner ad.
Just make the black shape a little bigger, and you’re done.
Resizes completed:
• Banner ✅
• Small ✅
• Medium ✅
• Xlarge ✅
• Long ✅
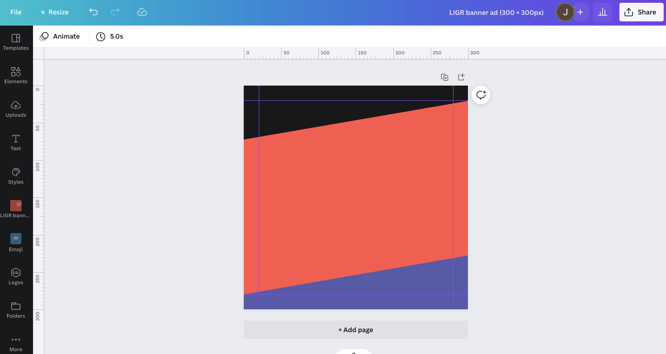
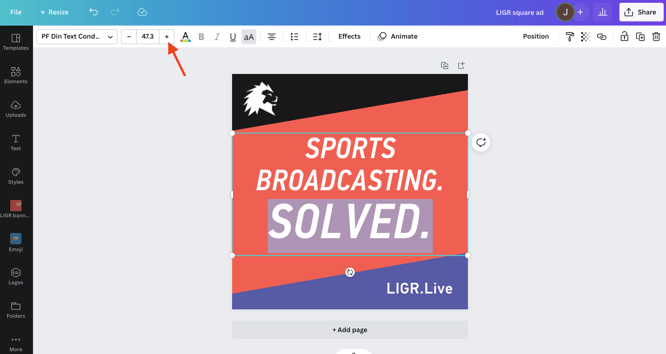
Then we have one final resize, the square ad (300x300 pixels). This size is quite different from all the other sizes, so we need another solution for how we use the colored shapes. I want to angle the shapes 10 degrees off horizontal instead of vertical to create space for our design elements.
Create a new 300x300 pixel file, set the background to red, then copy and paste the black shape into the new file. Rotate the shape to 110 degrees, make it wider and move it to the top of the ad.

Then repeat this process with the purple shape from the medium ad and position it at the bottom of the ad. Set up a 20-pixel margin and arrange the two shapes so the shortest side lines up with the margin.
Then, copy and paste the logo, message, and the URL from the medium ad and reposition them within the black, red, and purple shapes. You can split the text over three lines by clicking and pressing enter. Then highlight “SOLVED” and use the +/- controls to make the text bigger.
That’s the final resize.
Resizes completed:
• Square ✅
• Banner ✅
• Small ✅
• Medium ✅
• Xlarge ✅
• Long ✅
Now we have a complete ad set:


So far in this how-to guide, we’ve been concentrating on the easiest way to create a professional-looking ad set, but there are a few more things we can do to make an ad set that’s going to take full advantage of a live sports setting.
Once you’re finished all of your resizes, you should look at the ads as a set and see if there’s anything else you want to change. There are a few things that I like in certain ad sizes that I want to add to the other sizes:
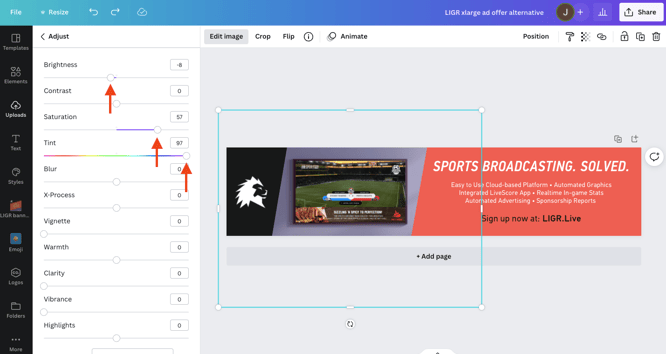
Open the xlarge ad and select the image with the TV and wall in it, press the “Edit Image” button at the top, then select “See all” to show all the controls.
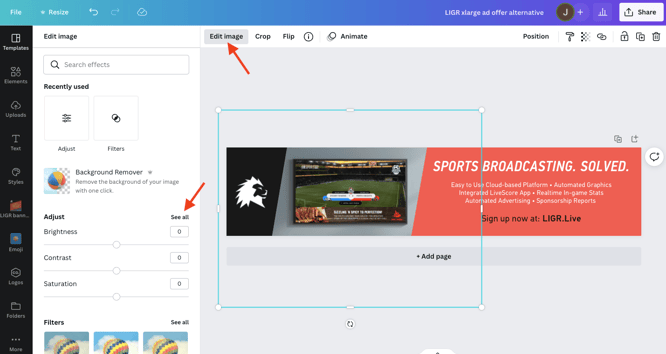
First, adjust the tint to change the color until it roughly matches, then increase the saturation and reduce the brightness to get a closer match. I don’t want it to be as dark as the other purple, but I want it to be a matching shade.
After making those final tweaks to the images, messaging, and the purple shape, we now have a finished ad set:
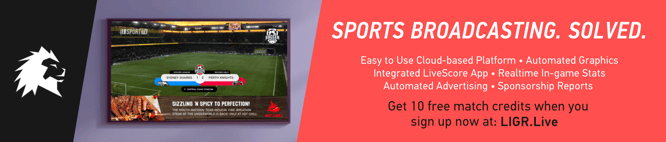


Now there are no repeated images, and the viewer gets a more complete story of what the product is and what it offers across the set of ads – but all the ads still have the same design theme and headline message, where space allows.
I designed these ads as if I knew nothing about LIGR’s brand guidelines and worked based on what I could find in the public domain. This is fine for local advertisers, but if you need to create ads for national or international brands, then it’s likely that these companies will have quite strict guidelines that limit use of color, images, messages, and how the logo is displayed. It’s best to ask about guidelines first or be prepared to make changes after the sponsor sees your ads.
It’s easy to make mistakes when resizing banner ads. It’s worth making a checklist and ticking off each of the seven elements are in the banner and that there are no typos (use Chrome’s browser-based spellchecker or type things into Word and cut and paste them into the banner – then you won’t make typing mistakes).
Double-check that you’ve entered any prices correctly and that phone numbers and URLs are correct. Checking is an essential part of making an ad set because it’s very easy to make a mistake and miss something (sponsors can get upset if a typo causes lost revenue). It’s always good to get another person to check the ads with a fresh pair of eyes.
Once you are happy, get final sign-off from your sponsor on the complete ad set.
Now your ad set is ready, it’s time to learn how to configure the ads on LIGR Live.
👉 Read Step 5: Uploading and Configuring Your Ad Set on LIGR Live
👉 If you haven't already, read the introduction to this series: The Ultimate Guide to Creating Ads for Sports Broadcasts with Canva


