

A “resize” is taking an existing ad and converting it into another ad of a different size or shape. To create an ad set to use on LIGR Live, you will need to resize your template ad design to make seven different sizes.
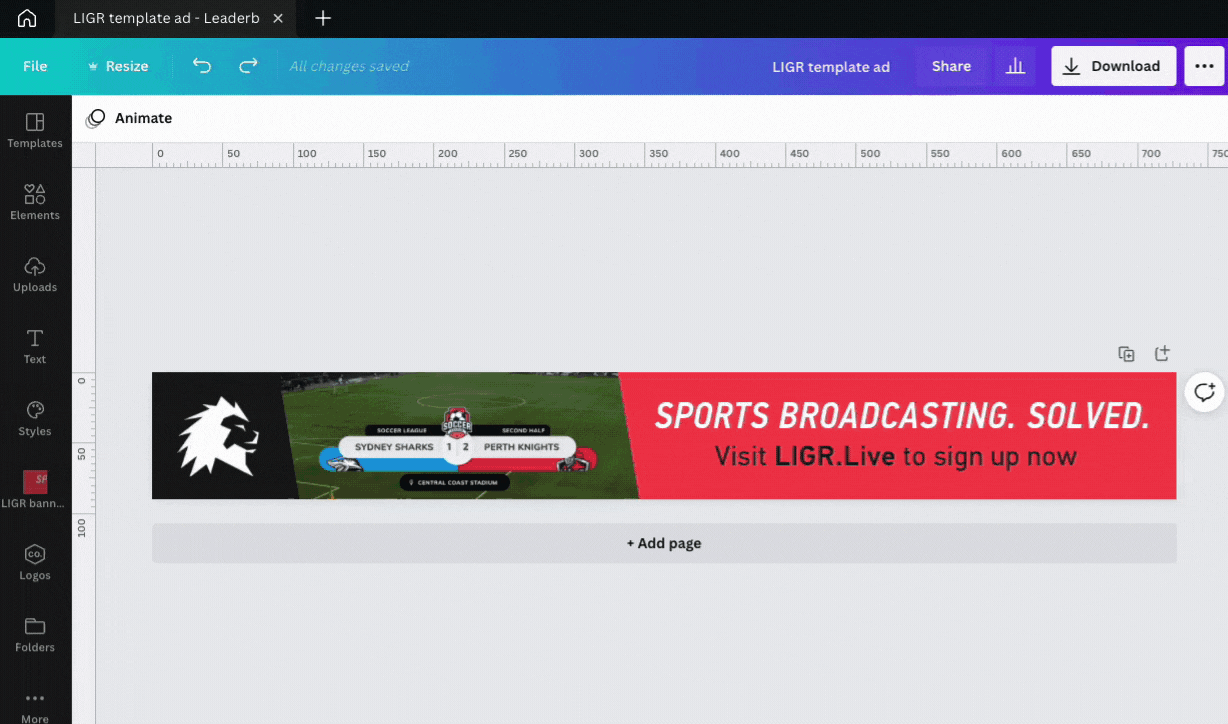
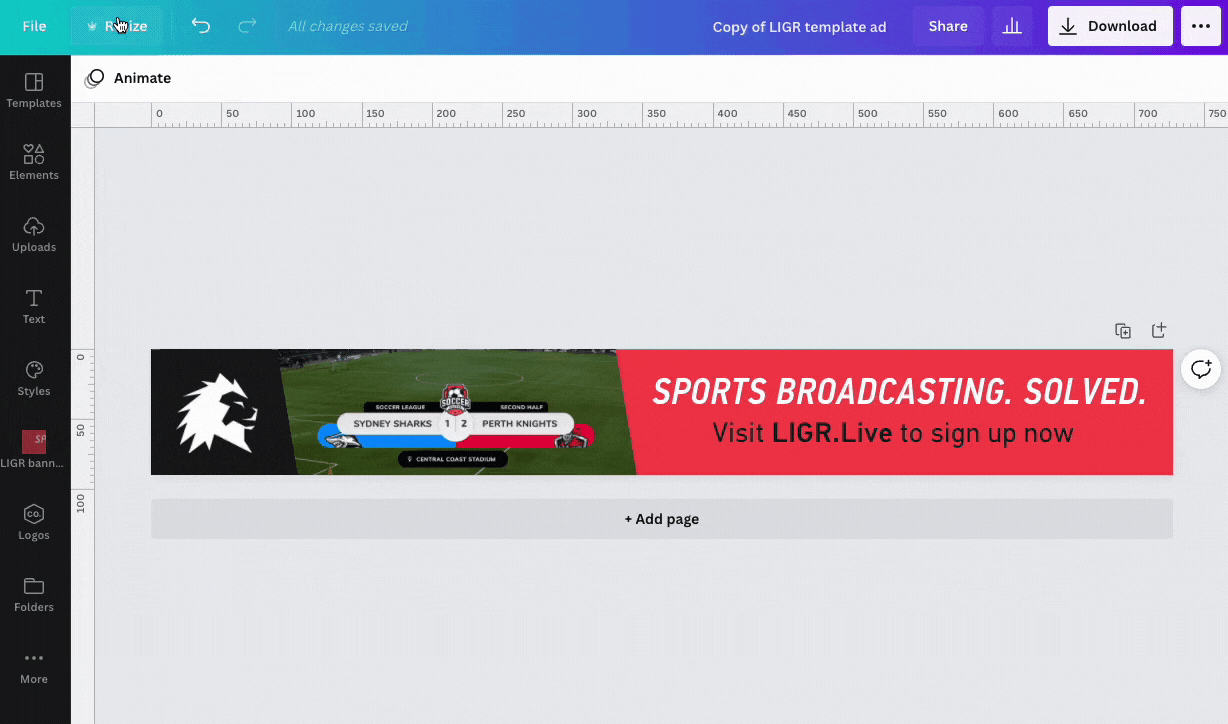
In the previous post in our Ad Design Series, we used a Canva template to design a leaderboard banner. Now, the next step is to “resize” your leaderboard into an ad size that’s compatible with LIGR.
You have two options with this guide:
Option 1️⃣ Start with my Canva file to work through each step and resize the ad I designed for LIGR.
Option 2️⃣ Follow this guide using your own design to create an ad for one of your sponsors.
Resizing banner ads is easy to learn if you follow a methodical approach. Also, this is where Canva can help as it has a handy built-in resizing tool that can do some of the work for you. This is a Canva Pro feature, but it's still possible to resize your ads in the free version of Canva.
Typically when resizing banners, the first job is to separate your list of sizes into groups of similar shapes where you can apply the same design layout. There are three shape types within a LIGR ad set: four wide banner shapes, two small banner shapes, and one square.
In the example ad set below, you can see that each of these three shape groups follows a different design, but they still adhere to an overall design theme, using the same colors and the angled blue stripe. The square has a distinct design, which just includes the logo. The banner and small size include the logo and the blue diagonal shapes to the right, then the remaining medium, long, large, and xlarge sizes all have a large darker blue area with messaging. These four ads aren’t identical in messaging, but all four use the same design layout.
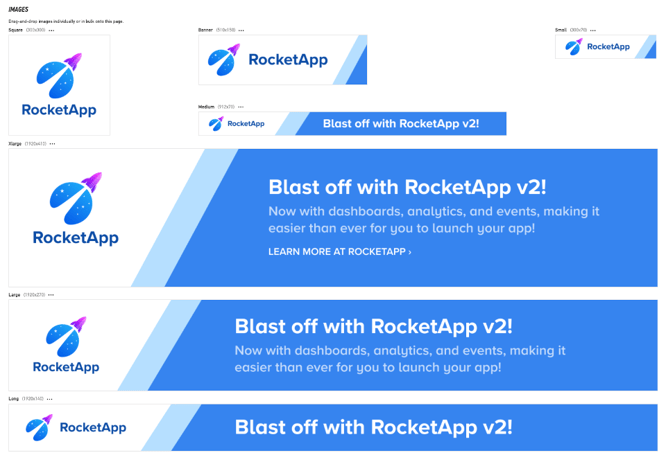
The seven ad sizes in a LIGR ad set: small, banner, square, medium, long, large, and xlarge
An ad set won’t always follow the same divisions – it depends on the ad design. For example, there is enough space in the square ad to include all the information shown in the medium size RocketApp ad. It would probably mean creating a design without the diagonal shapes and adding a square block of blue underneath the logo with the “Blast off with RocketApp v2!” message on two lines. This is a decision for the designer to make and can depend on how you choose to display each ad size within your live games. If you know that the square ad is usually only shown briefly during live play, you might decide to go with a simple logo.
Also, don’t worry too much about these divisions or planning which ads will be part of each shape set. This technique of splitting the ads into groups is much more useful for large resizing jobs where a designer might need to create an ad set of more than 50 different sizes for various advertising platforms. The different shape groups aren’t set in stone, and during a resizing job, you might decide to move a size to a different group.
See it as another way to help break down the job into easily manageable tasks. Your first job is to take your leaderboard and resize it for the four ad sizes that are a similar wide shape: the medium, long, large, and xlarge LIGR ad set sizes. Then once that’s done, you can tackle the other shape groups one by one.
For our first ad resize, we want to select the ad which is closest in width-height ratio to our leaderboard 728 x 90 template ad. At 1920 x 270 pixels, the large ad is roughly three times the size of the template, so we’ll start with that one.
Open the leaderboard file in Canva that you created in Step 2 (or my template, if you prefer) and make a copy.
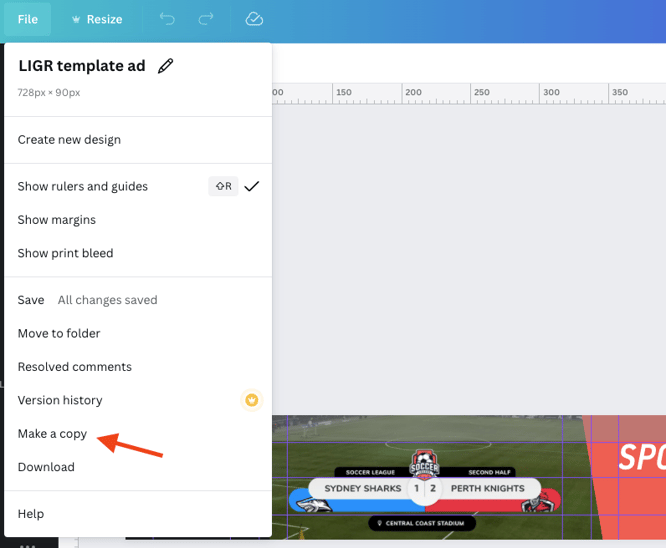
Making a copy of a file in Canva
Then rename the file by clicking on the file name or the right side of the blue strip at the top. Include the size of the new ad we are resizing (in this case “large”):
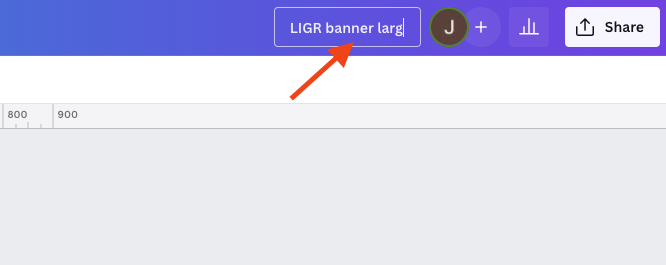
Renaming a file in Canva
It’s always best to make a copy and rename the file first to ensure you don’t accidentally save over your template file.
There are two ways to do this depending on whether you have a free or pro Canva account. If you have pro, you can skip the next section.
With a Free Canva Account:
It’s not difficult to resize with the free account, and in fact, it’s sometimes necessary to do it this way even with a pro account, because Canva’s resize tool doesn’t always save you work. Sometimes it can squash everything down, depending on the differences in the two ad sizes.
Open your leaderboard template file, add a square element and drag out the edges so that it’s exactly the dimensions of the file – 728 x 90 pixels. Then, move the square to the front and set transparency to 50%.
Adding a grey box to an ad in Canva to assist with resizing
This box allows us to copy everything from this file, move it to the new file, then scale the design elements in proportion to fit the new file’s dimensions.
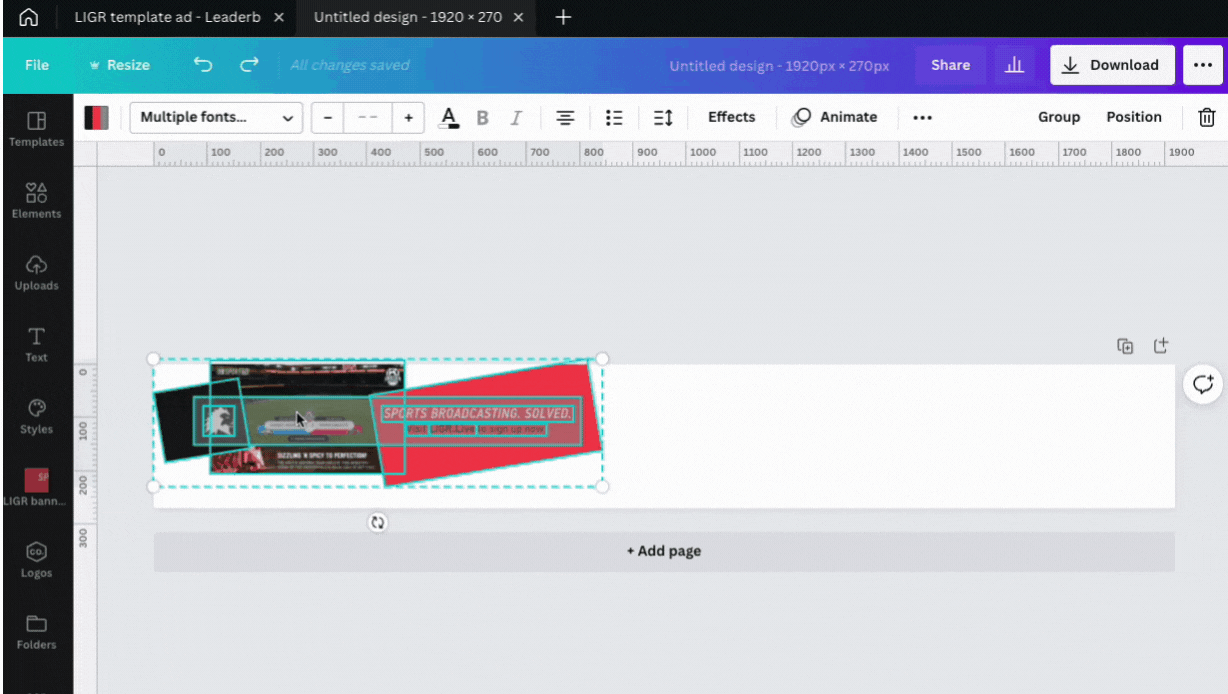
Next, create a new custom size Canva file, enter 1920 x 270, then, go back to your template file with the grey box, select all (macOS: cmd + A; Windows: ctrl + A), copy (macOS: cmd + C; Windows: ctrl + C) and return to your new empty file and paste everything in (macOS: cmd + V; Windows: ctrl + V).
Creating a new custom sized file in Canva and pasting design elements
Now, use the arrow keys to nudge the items so that the top left corner of the grey box is in the top left corner of your file. There’s no need to be too accurate for the moment.
Then, drag out the white circle at the bottom right of the items until the grey box is roughly the size of the file (the white background area).
Repeat the step of positioning the grey box at the top left of the file and scaling the items until you get the grey box to fit exactly (match up the blue vertical lines with the edges of the document). In this case, we are trying to match the width; for a longer shape, we would match the height.
Then nudge everything down, so it sits centrally with a roughly equal gap above and below the grey box.
Scaling and repositioning design elements in Canva
You can deselect the group of items (click anywhere outside them), select the grey box, and delete it. This is how the file would look if we had used Canva pro’s resize tool.
Resizing an ad manually in Canva
Don’t forget to double-check that you've given your file a name that includes the sponsor’s name and the banner size (large).
Now you can skip the section below for pro users.
With a Canva Pro account:
Press the Canva resize button, then enter the pixel dimensions for a large ad (1920 x 270), then press the “Resize” (not the “Copy & resize” button as you’ve already made a copy).
Using the resize tool in Canva Pro
You can then see that Canva has automatically scaled all the design elements within the new ad size. As the large ad is roughly three times the size of a leaderboard, there isn’t much work to do to tidy up this resize.
The next stage of resizing the ad is for both free and pro Canva users.
First, you want to re-establish the grid structure. We used a 20px margin in the template, so we’ll use a 60 px border in the large banner as it’s around three times the size. You don’t need to stick to the same margin for all your ads or scale the margin size perfectly. It’s just a matter of choosing a margin size that looks right for each ad so that each ad in the ad set has a similar amount of space around the elements. I’ve also added a center guideline at 135 pixels to help with alignment.
Using guidelines in Canva
The first fix is to move the red shape so that the top left corner isn’t showing. You can select it and use the arrow keys to nudge it up until it’s not showing.

Repositioning shapes in Canva
Then we want to address the problem with the image. I’d positioned the image in the leaderboard ad so that the brown part at the bottom wasn’t visible. Again, you can just select it and use the arrow keys to nudge it down until the brown area can’t be seen.
Repositioning images in Canva
Once you have the other design elements in place, you can scale the text to fit the available space within your margins.
I increased the size of “Visit LIGR.Live to sign up now” by selecting all three parts, grouping them, then scaling the grouped items to fill the space inside the 60 px margin.

Grouping and scaling elements in Canva
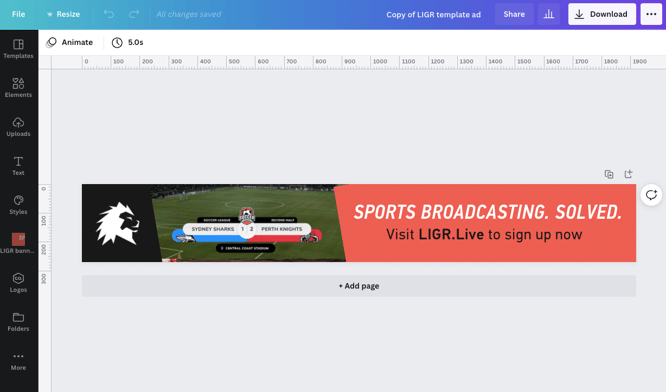
The next job is to add a little more space to the left of the messaging. The red space to the left of the S is a little close compared to the 60px margin on the right. You can just select the red shape and nudge it left a few pixels to even up the spacing or measure 60px using guidelines. This is now the finished ad resize.
A completed ad resize
When you finish each resize, you should compare it to the rest of the ad set and make changes to the whole set if you need to. For example, you might decide you prefer a shorter second line: “Sign up now at: LIGR.Live”. As we progress through the resizes we’ll probably make a few small tweaks like this to the whole ad set.
Here’s the leaderboard and the finished large ad for comparison.
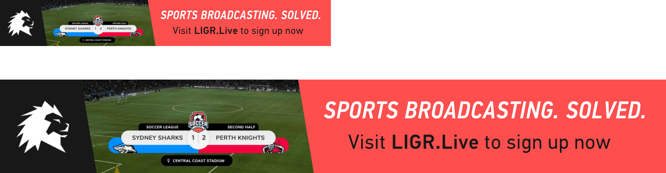
Top: leaderboard template ad (728x90px); bottom: large ad (1920x270px)
Check that you’ve got everything in place and that the two ads look like part of a set. You might be wondering why we didn’t just stretch the leaderboard to fit the larger ad size. We could do this, but a 728x90 banner ad is made up of around 65,000 pixels, while the 1920x270 is over 500,000 pixels. If you stretch the smaller ad to fit, it will look blocky and pixelated when displayed on an HD livestream on a big screen TV.
At this point, it’s a good idea to send the ad to the sponsor for approval before you create the rest of the ad set sizes. It’s often the case that when you ask an advertiser for design assets before you design an ad, you will get very little guidance, but when you send the ad for approval, and they can see something, they will have ideas and want to give input on the images used and the colors. Make any changes the advertiser requests to this ad before requesting sign-off again and moving on to the complete set of resizes.
And remember, if the sponsor asks you to add a button or animate the ad, remind them that these ads are for livestreams so the viewers can click on the ads, and the LIGR platform uses static banner ads. Also, if the sponsor asks you to add more text to the ad, explain that this banner is shown briefly during live play. Offer to add any additional messages to the xlarge ad, which is displayed during official breaks in play.
Then, once you’ve got the go-ahead, you can complete the same process for the remaining ad sizes.
The next step is to resize the complete set of seven sizes to create a LIGR ad set. As you make each new size, the following ad in the set will become easier.
👉 Read Step 4. How to Resize a Complete Ad Set
👉 If you haven't already, read the introduction to this series: The Ultimate Guide to Creating Ads for Sports Broadcasts with Canva


